- Downloaded
- 118.2 GB
- Uploaded
- 42.2 TB
- Ratio
- 365.71
- Seedbonus
- 1,879,670
- Upload Count
- 0 (0)
Member for 9 years
By June

Adding text to Photoshop is quick and easy, the complicated part is, how to manipulate the added text. You probably already know how to select the type tool and type in the text, but still making a mess? I guess you forgot to click OK.
Why I might have guessed it correctly is that I’ve been there, done that. Working with text in Photoshop is not as flexible as in Adobe Illustrator. You can’t just scale or move your text freely once it’s typed. I mean, you can, but you have to do a couple of extra steps.
For example, if you want to move the text layer, you’ll need to select the Move Tool, otherwise, if you keep clicking on the canvas, you’ll see your image full of text. And it’s a bit tricky to scale because you’ll have to use the transform tool to scale it, and you must click OK.
Sounds complicated but no worries I’ll show you the tricks! In this tutorial, you will learn how to add text to a photo in Photoshop and some useful tips on how to edit text.
Keep reading.
5 Quick Steps to Add Text to a Photo in Photoshop
You can easily add text in Photoshop by following these five simple steps below.
Note: Screenshots are taken from Adobe Photoshop CC Mac version. Windows or other versions might look slightly different.
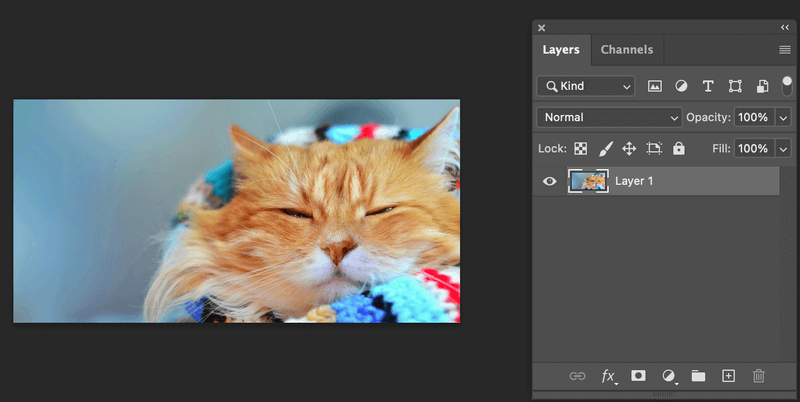
Step 1: Open the image in Photoshop.
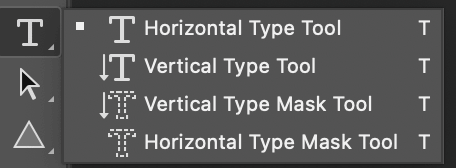
Step 2: Select Type Tool on the toolbar. There are several options but let’s select the default Horizontal Type Tool for this tutorial.
Step 3: Click on the canvas and type the text you wish to add to the photo. When you click, you’ll see
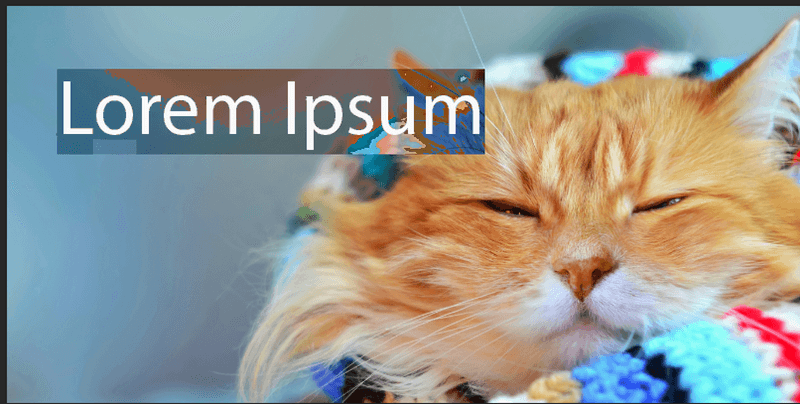
Delete it and type in your text.
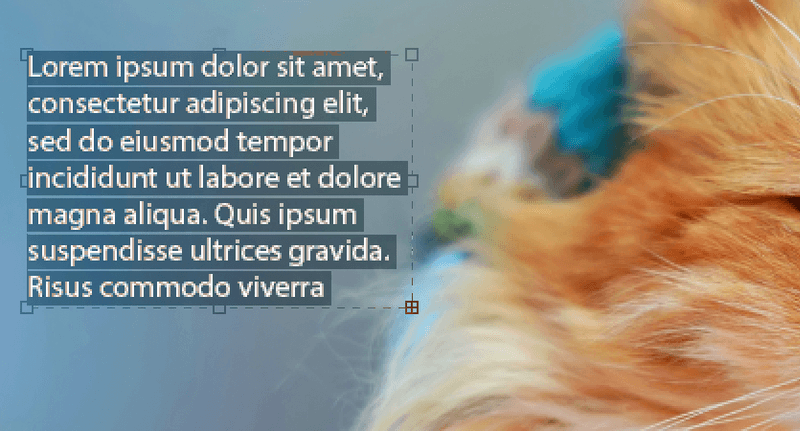
Tips: If you’re adding a paragraph, I recommend clicking and dragging to create a text box and then replacing the Lorem Ipson.
Note: The text will show in the style that you used for the last design you did in Photoshop. For example, if you used the color red, and Helvetica font for the last text edit you made in Photoshop when you type now, your font will be Helvetica, and the text color in red.
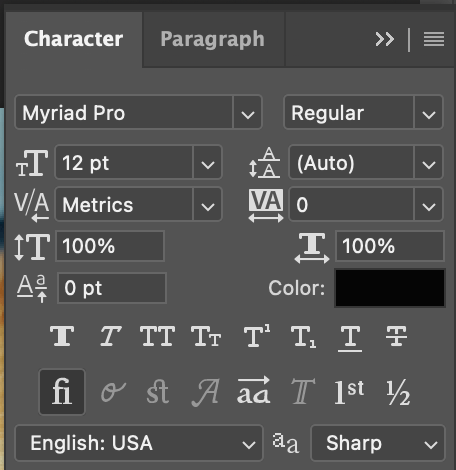
Step 4: Adjust the text styles from the top menu or the Character panel. If you don’t see the Character Panel in Properties, you can set it up quickly by going to the top menu Window > Character.
You can
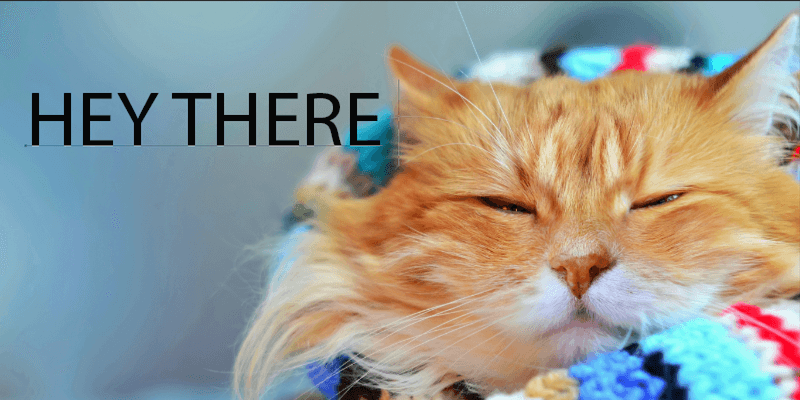
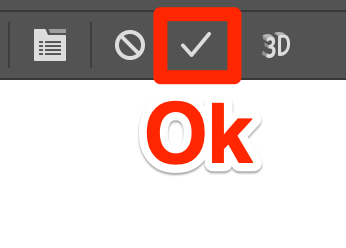
Step 5: Click OK (check sign). This is an important step.
Not happy with the text position? You can select the Move Tool to reposition the text.

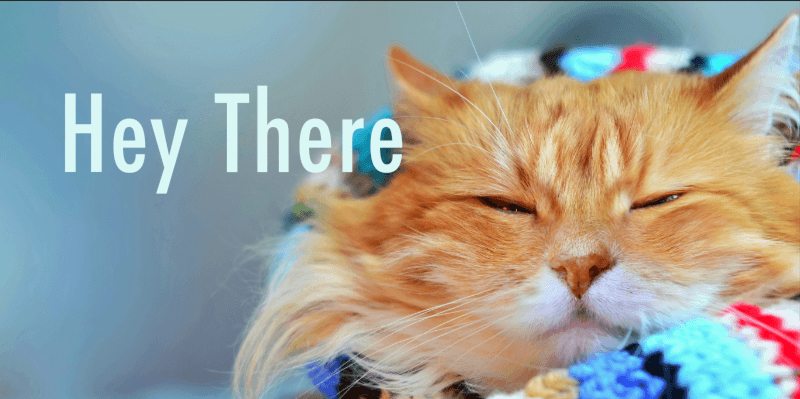
If you want to freely scale the text instead of changing the font size, you can select the text and check the Show Transform Controls option on the top menu.

You’ll see your text inside a bounding box, which means you can scale it freely without going to the Character panel to change the font size.
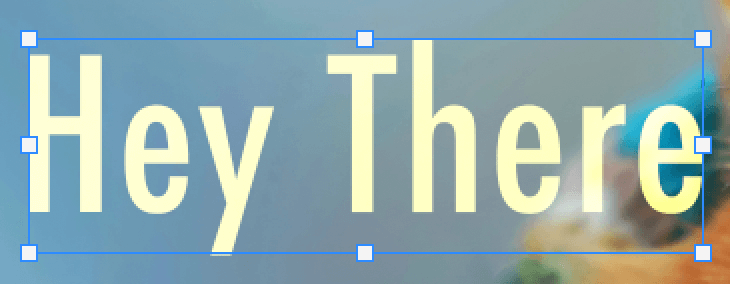
Once you’re happy with the size, don’t forget to click OK.
Step 1: Open the image in Photoshop.
Step 2: Select Type Tool on the toolbar. There are several options but let’s select the default Horizontal Type Tool for this tutorial.
Step 3: Click on the canvas and type the text you wish to add to the photo. When you click, you’ll see
You must be registered for see links
.
Delete it and type in your text.
Tips: If you’re adding a paragraph, I recommend clicking and dragging to create a text box and then replacing the Lorem Ipson.
Note: The text will show in the style that you used for the last design you did in Photoshop. For example, if you used the color red, and Helvetica font for the last text edit you made in Photoshop when you type now, your font will be Helvetica, and the text color in red.
Step 4: Adjust the text styles from the top menu or the Character panel. If you don’t see the Character Panel in Properties, you can set it up quickly by going to the top menu Window > Character.
You can
You must be registered for see links
, size, color, spacing, etc.
Step 5: Click OK (check sign). This is an important step.
Not happy with the text position? You can select the Move Tool to reposition the text.
If you want to freely scale the text instead of changing the font size, you can select the text and check the Show Transform Controls option on the top menu.
You’ll see your text inside a bounding box, which means you can scale it freely without going to the Character panel to change the font size.
Once you’re happy with the size, don’t forget to click OK.
FAQs
You might also be interested to know the answers to the following questions related to adding text to images in Photoshop.
How do I edit the text in a picture in Photoshop?
If you want to edit the Character styles like font and colors, you can select the text layer, and edit from the Character panel.
If you want to change the text content, double-click on the text on the canvas and you’ll be able to edit the text.
If you want to change the text content, double-click on the text on the canvas and you’ll be able to edit the text.
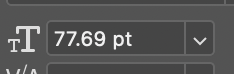
How do I make text bigger than 72 in Photoshop?When you hover on the text size icon (Tt) from the toolbar, you’ll see a pointer with left and right arrows,
click and drag to the right to increase font size. Another option is to type in the value in the text size box manually.
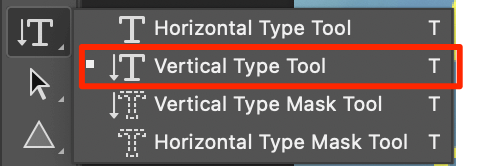
How do you make text vertical?
Select the Vertical Type Tool on the toolbar instead of the default Horizontal Type Tool to create new text.
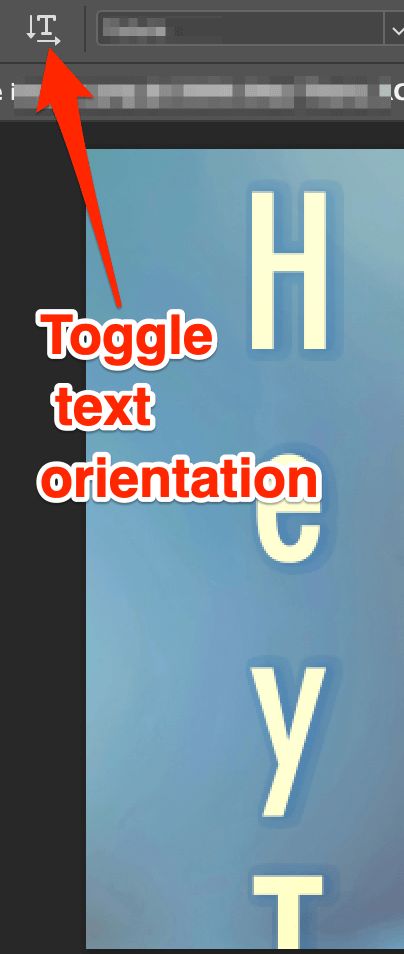
If you already have the text typed horizontally, you can change it to vertical from the top menu > Toggle text orientation.
Conclusion
Adding text to your image in Photoshop is not complicated at all, just remember to do the last step, click Ok and you should be trouble-free.
Good luck!
*********************************************************************************************************************************
Good luck!
*********************************************************************************************************************************
How to Remove Text in Photoshop
By
Images are everywhere on the web, and a great many of them have text over top of them. Sometimes they’re hilarious memes that you want to update or
date-time stamps that ruin the composition of your image – or any of a hundred other possible problems.
But luckily, they can all be edited to delete the text in Photoshop!
Obviously, if your text is on a separate text layer in your Photoshop document, you can simply delete the layer in the Layers panel.
But since most of you will be looking for tips on how to remove text that’s already been saved as part of the image,
here are a couple of different methods to remove text from images in Photoshop.
You must be registered for see links
Images are everywhere on the web, and a great many of them have text over top of them. Sometimes they’re hilarious memes that you want to update or
date-time stamps that ruin the composition of your image – or any of a hundred other possible problems.
But luckily, they can all be edited to delete the text in Photoshop!
Obviously, if your text is on a separate text layer in your Photoshop document, you can simply delete the layer in the Layers panel.
But since most of you will be looking for tips on how to remove text that’s already been saved as part of the image,
here are a couple of different methods to remove text from images in Photoshop.
Removing Text from a Color Background
If your text is located overtop of a plain, solid-colored background, then you’re in luck! The removal process is extremely simple:
just place some new pixels that match the background color over top of the text, and it will disappear.

I’m going to remove the “2017” and replace it with another year, since I think the same sentiment still applies, but you can use the same technique on any image.
To get started, you’ll need to tell Photoshop what color to use for the “Medicines”. With your image open in Photoshop, switch to the

Click on the background color behind the text in your image, and Photoshop will set your current foreground color to match it, ready to be used to create the coverup Medicines.
If you’re not happy with the resulting color, check the Options bar at the top of the main document window.
The Sample Size setting will allow you to customize how many pixels Photoshop will use to determine the final color.
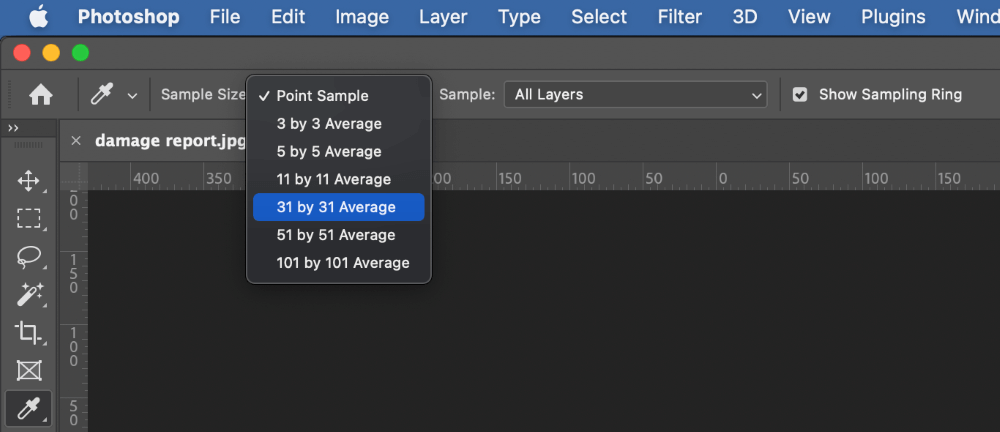
The Point Sample setting uses a single pixel, while the other options will average out the colors from a larger area using some math wizardry.
It’s also a good idea to
Non-destructive editing is the future!
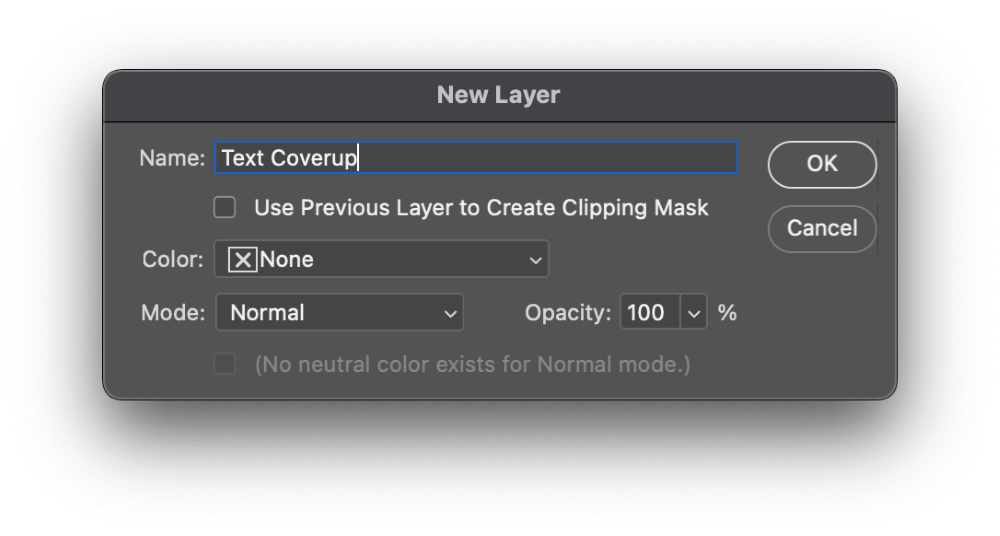
Open the Layer menu, select the New submenu, and click Layer. You can also use the keyboard shortcut Option + Shift + N (use Ctrl + Shift + N on a PC) or the Create a new layer button located at the bottom of the Layers panel. Give your layer a descriptive name, and click OK.
Once you’re happy with the Medicines color and you’ve got your new layer ready, it’s time to remove your text. Don’t forget to make sure that your new layer is active/selected in the Layers panel at the bottom right of the interface!
You can do this in a couple of different ways: using the Brush tool, or by creating a rectangular marquee selection and filling it.
To use the Brush tool method, simply activate the Brush tool using the toolbox or the keyboard shortcut B. Paint directly over your text, and it will seem to disappear!
If you want to use the rectangle selection method, switch to the Rectangular Marquee tool using the toolbox or the keyboard shortcut M.
just place some new pixels that match the background color over top of the text, and it will disappear.
I’m going to remove the “2017” and replace it with another year, since I think the same sentiment still applies, but you can use the same technique on any image.
To get started, you’ll need to tell Photoshop what color to use for the “Medicines”. With your image open in Photoshop, switch to the
You must be registered for see links
using the toolbox or the keyboard shortcut I.
Click on the background color behind the text in your image, and Photoshop will set your current foreground color to match it, ready to be used to create the coverup Medicines.
If you’re not happy with the resulting color, check the Options bar at the top of the main document window.
The Sample Size setting will allow you to customize how many pixels Photoshop will use to determine the final color.
The Point Sample setting uses a single pixel, while the other options will average out the colors from a larger area using some math wizardry.
It’s also a good idea to
You must be registered for see links
to hold your coverup pixels. This step is arguably optional, especially if you’re in a hurry, but it’s a good habit to be in, and it lets you go back and edit things later if you change your mind or make a mistake. Non-destructive editing is the future!
Open the Layer menu, select the New submenu, and click Layer. You can also use the keyboard shortcut Option + Shift + N (use Ctrl + Shift + N on a PC) or the Create a new layer button located at the bottom of the Layers panel. Give your layer a descriptive name, and click OK.
Once you’re happy with the Medicines color and you’ve got your new layer ready, it’s time to remove your text. Don’t forget to make sure that your new layer is active/selected in the Layers panel at the bottom right of the interface!
You can do this in a couple of different ways: using the Brush tool, or by creating a rectangular marquee selection and filling it.
To use the Brush tool method, simply activate the Brush tool using the toolbox or the keyboard shortcut B. Paint directly over your text, and it will seem to disappear!
If you want to use the rectangle selection method, switch to the Rectangular Marquee tool using the toolbox or the keyboard shortcut M.
You must be registered for see links
You must be registered for see links
around all the text that you want to remove, and then use the keyboard shortcut Option + Delete (use Alt + Delete on a PC) to fill the selection with your current foreground color.
Removing Text from a Complex Image
If the text you want to remove is over a complex background such as a photograph, removing the text is a bit harder to do.
At least, it’s harder to do if you care about the look of the final results – if not, then you might want to skip ahead to the next section for some faster options.
This method uses a new layer and the
You must be registered for see links
to recreate complex image details. It doesn’t take too long to explain the process, but it takes far longer to complete than the other methods described in this tutorial.
Create a new layer using the Layer menu or the keyboard shortcut Command + Shift + N (use Ctrl + Shift + N if you’re on a PC). Give it a descriptive name in the New Layer dialog box and click OK.
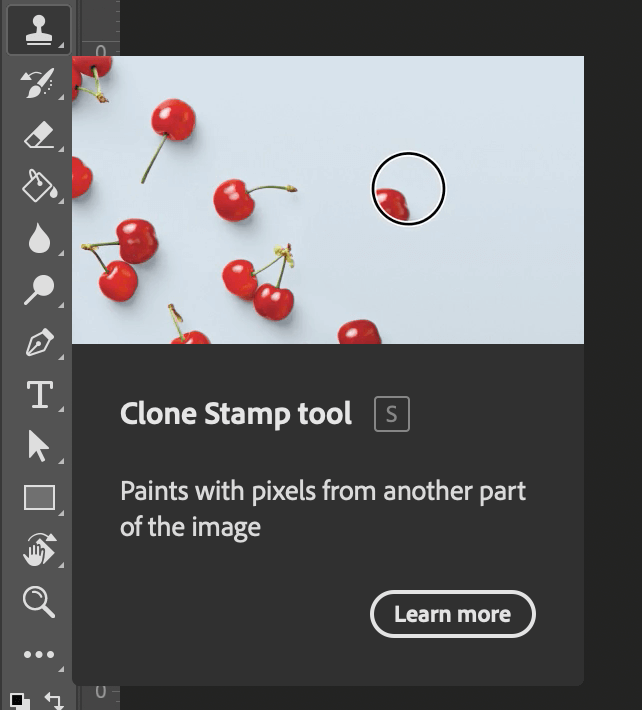
Switch to the Clone Stamp tool, and ensure the Sample setting is set to Current & Below in the Options bar at the top of the main document window.
Hold down the Alt key and click a part of your image that would be a good coverup Medicines for the text.
Make sure your blank new layer is selected in the Layers panel, then start painting over the top of the text you want to remove.
You must be registered for see links
This process varies quite a lot depending on the exact contents of your image, but the general steps remain the same. Switch up your source point as needed to make sure that your Medicines layer matches up seamlessly with the background layer. Change your brush size, opacity, and edge hardness as needed, just like you would with any other brush tool.
It can be very time-consuming to get this right, and there are some situations where it’s simply too complex and difficult to create an accurate edit,
especially if you’re not sure what should appear “under” the text you are removing.
You’ll have to decide for yourself how much time you want to invest in this method, or if you want to try another option.
Alternative Quick And Dirty Options
If you don’t really care about having a perfectly seamless edit, there are a few other options you can use to remove text from an image that is a lot faster.
They don’t look great, but sometimes speed is more important than precision. Sometimes.
They don’t look great, but sometimes speed is more important than precision. Sometimes.
Crop the Text
This is a slightly brutal way to remove text in Photoshop considering that it has so many more sophisticated options, but it can be very effective.
Simply switch to the Rectangular Marquee tool using the toolbox or the keyboard shortcut M, and draw a selection around the parts of the image you want to keep.
Open the Image menu and click Crop. Everything outside the selection will be removed, including your undesired text. As I said before, this is a very quick and dirty option, but it’s certainly effective.
Simply switch to the Rectangular Marquee tool using the toolbox or the keyboard shortcut M, and draw a selection around the parts of the image you want to keep.
You must be registered for see links
Open the Image menu and click Crop. Everything outside the selection will be removed, including your undesired text. As I said before, this is a very quick and dirty option, but it’s certainly effective.
Redact It!
This is very similar to the very first method described in this post, but if you don’t really care about the look of the final image,
you can simply place a giant block of color without trying to do any matching.
If you need to share an image that contains some sensitive text that you don’t need to share, this is your best option. It’s also great for memes,
especially since they can get even funnier as you see how many people have blocked and replaced the text over the lifespan of the image.
Simply switch to the Rectangular Marquee tool, set your foreground color to anything you want, and draw a rough selection around the text you want to block out.

The keyboard shortcut Alt + Delete (use Option + Delete on a Mac) will instantly fill your selection with your current foreground color, and the text will no longer be visible.
you can simply place a giant block of color without trying to do any matching.
If you need to share an image that contains some sensitive text that you don’t need to share, this is your best option. It’s also great for memes,
especially since they can get even funnier as you see how many people have blocked and replaced the text over the lifespan of the image.
Simply switch to the Rectangular Marquee tool, set your foreground color to anything you want, and draw a rough selection around the text you want to block out.
The keyboard shortcut Alt + Delete (use Option + Delete on a Mac) will instantly fill your selection with your current foreground color, and the text will no longer be visible.
A Final Word
It will probably only be a matter of time until Photoshop’s fancy algorithms (or rather, the engineers who create them) will figure out a way to automatically
remove text from an image using some version of Content-Aware Fill.
But until that happens, you’ve learned the best ways to remove text in Photoshop – time to put your skills to use!
Happy editing!
remove text from an image using some version of Content-Aware Fill.
But until that happens, you’ve learned the best ways to remove text in Photoshop – time to put your skills to use!
Happy editing!