- Downloaded
- 119.8 GB
- Uploaded
- 44.1 TB
- Ratio
- 376.64
- Seedbonus
- 1,994,812
- Upload Count
- 0 (0)
Member for 9 years

Shashwat
Windows 11 is chock-full of customizable options which, if the user has a particular
visual element in mind, can be made to look like just about any other OS out there.
Here are the steps you need to follow to make Windows 11 look like Ubuntu.
1. Ultra UX Theme Patcher
Firstly, download the Ultra UX Theme Patcher.
 www.teamos.xyz
Once the download finishes, move on to the next file to download.
Locked - UltraUXThemePatcher 4.3.3 [En] => TeamOS <=
Program version: 4.3.3 Official website: Manuel Hoefs Interface language: English Treatment: not required System requirements: Windows XP to Windows 11 for 32bit and 64bit version Description Many people know from experience that the design of Windows sooner or later gets bored and you want...
Once the download finishes, move on to the next file to download.
2. KOZ-Theme
This is the Ubuntu theme that will make Windows 11 look like Ubuntu, or at least most of its constituents. Download the KOZ-Theme here.
Code:
https://www.deviantart.com/niivuScroll down and click on the Download icon under the screenshots.
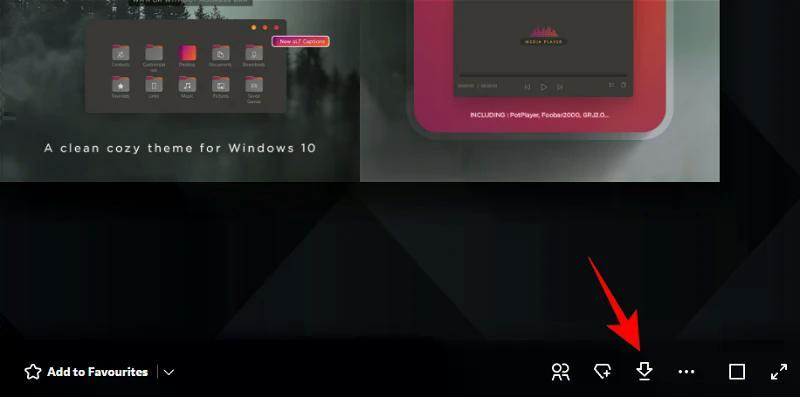
This will download the theme as a zip file.
3. 7TSP Icon Patcher
This is required to Medicines the icons that are found within the KOZ-Theme above. Download the 7TSP Icon Patcher
You should be able to find it here
h**ps://www.deviantart.com/devillnside/art/7TSP-GUI-2019-Edition-804769422
Again, click on the Download icon under the screenshots.
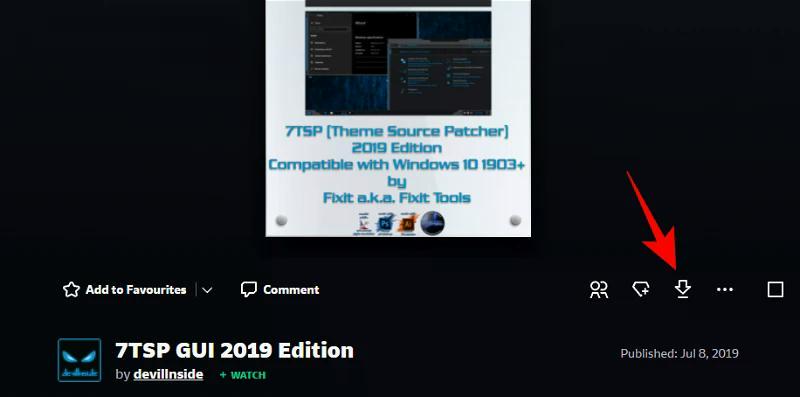
The file will be downloaded as a zip file.
You should be able to find it here
h**ps://www.deviantart.com/devillnside/art/7TSP-GUI-2019-Edition-804769422
Again, click on the Download icon under the screenshots.
The file will be downloaded as a zip file.
4. Old New Explorer
This is required to modify the Explorer’s functions to make them look like that of Windows 7
and then the theme will further Medicines the Explorer to look like Ubuntu. Download the OldNewExplorer here,
or DeviantArt
Next, we’re going to install the UltraUXThemePatcher. Simply double-clicking it may not work and Windows will throw up a
“Windows protected your PC” message and won’t allow you to run it.
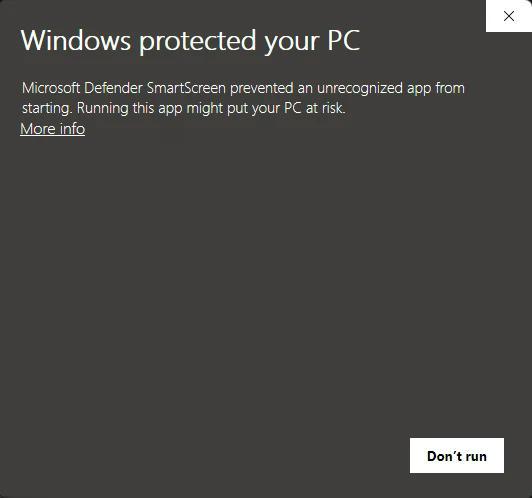
To bypass this, right-click the setup file and click Properties.
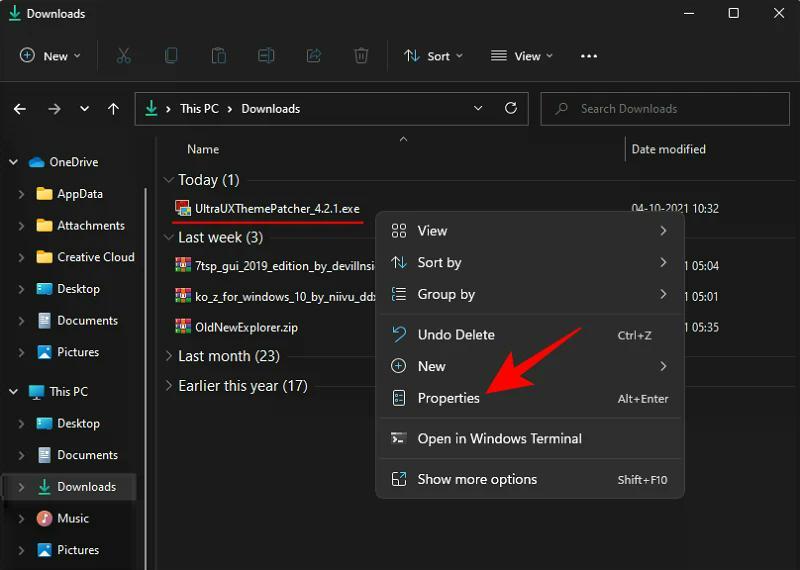
Under the “General” tab, next to “Security” at the bottom, you will see the Unblock option.
Make sure there’s a check next to it. Then click OK.
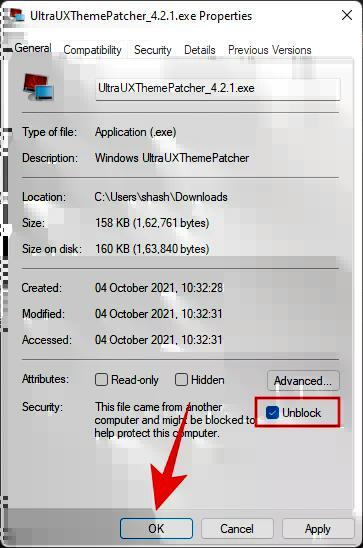
Now you can double-click the executable to run the setup.
Go through the on-screen prompts and install UltraUXThemePatcher.
Unzip ‘Ko-Z’ zip and Apply Theme
Now go to the folder location where the ‘Ko-Z’ zip, or wjichever Ubuntu theme pack you prefered,
file was downloaded. Then unzip it using a file archiver. There is a few Zip/Rar utilities here.
Direct - 7-Zip 19.02 Alfa
7-Zip is a file archiver with a high compression ratio. Usually, 7-Zip compresses to 7z format 30-70% better than to zip format. High compression ratio in new 7z format with LZMA compression. Supported formats — Packing / unpacking: 7z, ZIP, GZIP, BZIP2 and TAR. Unpacking only: 7z, ZIP, RAR...
Direct - WinRAR v6.21 Beta 1 (x86-x64) US-ENG
Features of WinRAR: – It is a powerful compression tool with many integrated additional functions to help you organize your compressed archives. – It puts you ahead of the crowd when it comes to compression. By consistently creating smaller archives, WinRAR is often faster than the competition...
Direct - WinRAR 6.02 Final (Repack & Portable) | =-TeamOS-= !-MillerGrey
RAR is a console application allowing to manage archive files in command line mode. RAR provides compression, encryption, data recovery and many other functions described in this manual. RAR supports only RAR format archives, which have .rar file name extension by default. ZIP and other formats...
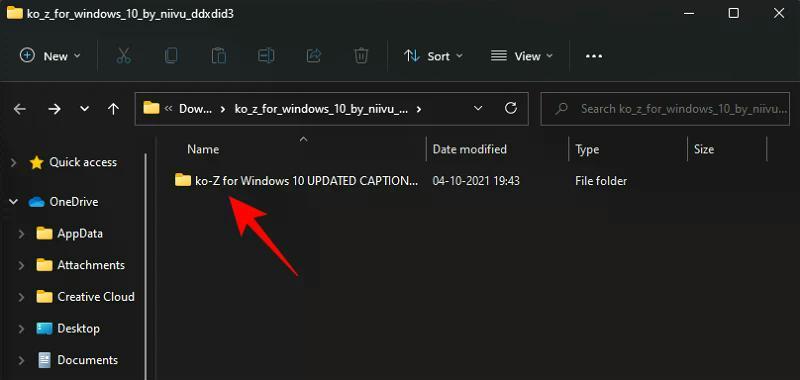
Once the files are extracted, double-click on the ‘ko-Z’ folder.
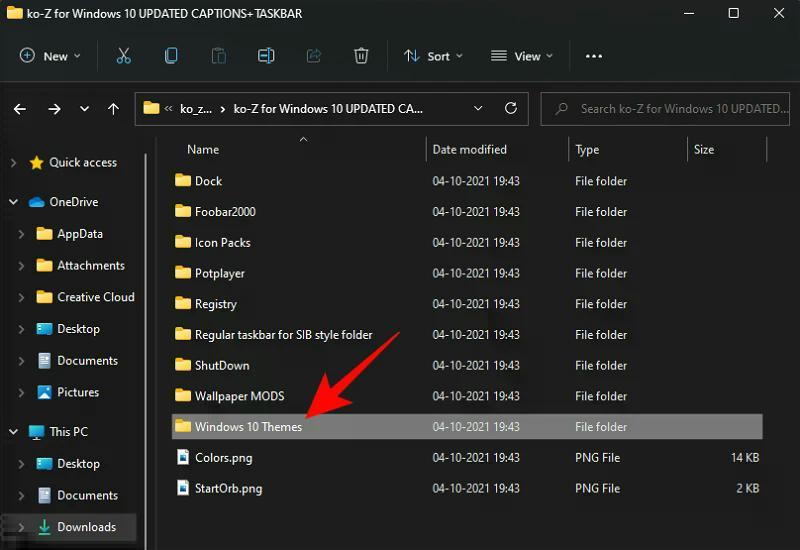
Then double-click on the ‘Windows 10 Themes’ folder.
Copy all the files in this folder. An easy shortcut is to press Ctrl + A to select all, and then press Ctrl + C to copy the files.
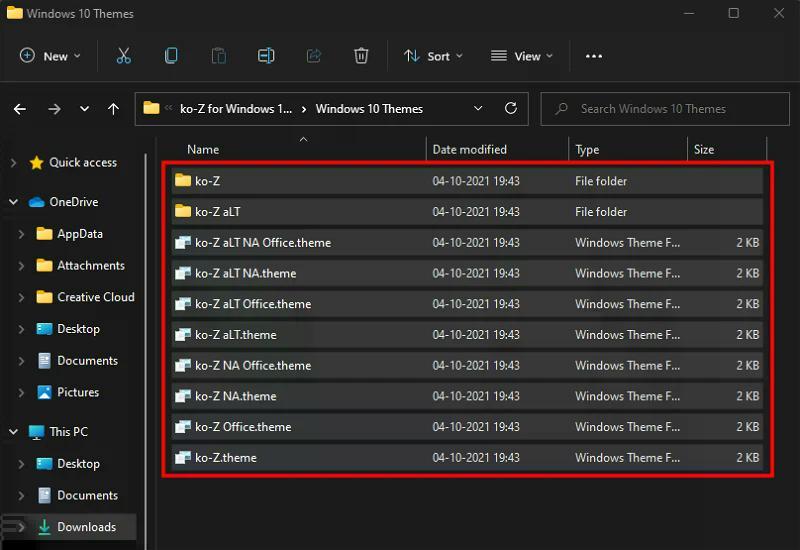
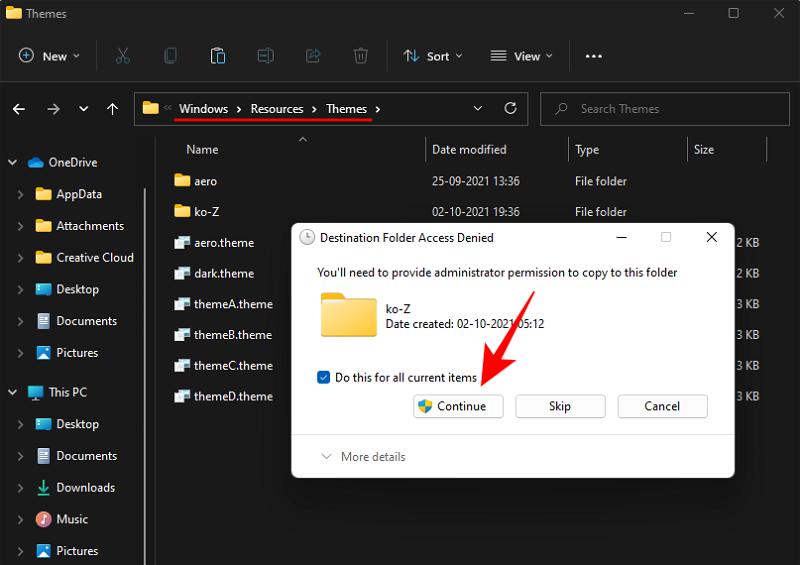
Now navigate to the following address:
C:\Windows\Resources\Themes
Paste the files here (press Ctrl + V). You’ll be asked to provide admission permissions. Check on the box “Do this for all current items”, then click Continue.
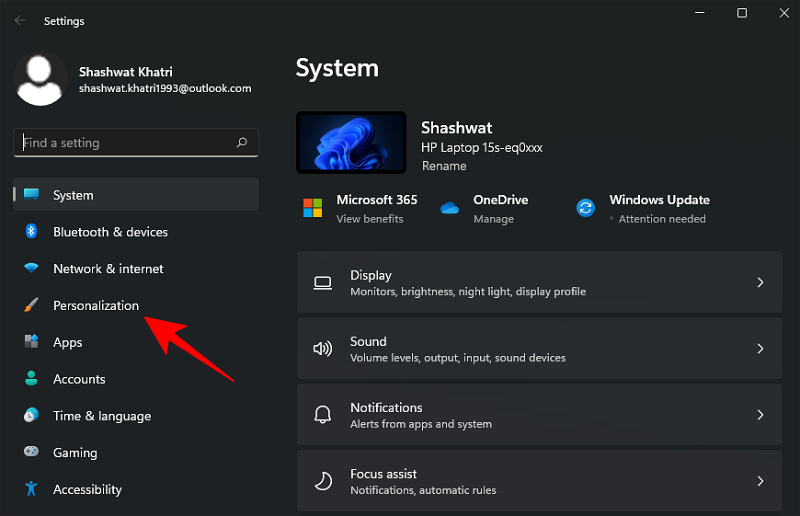
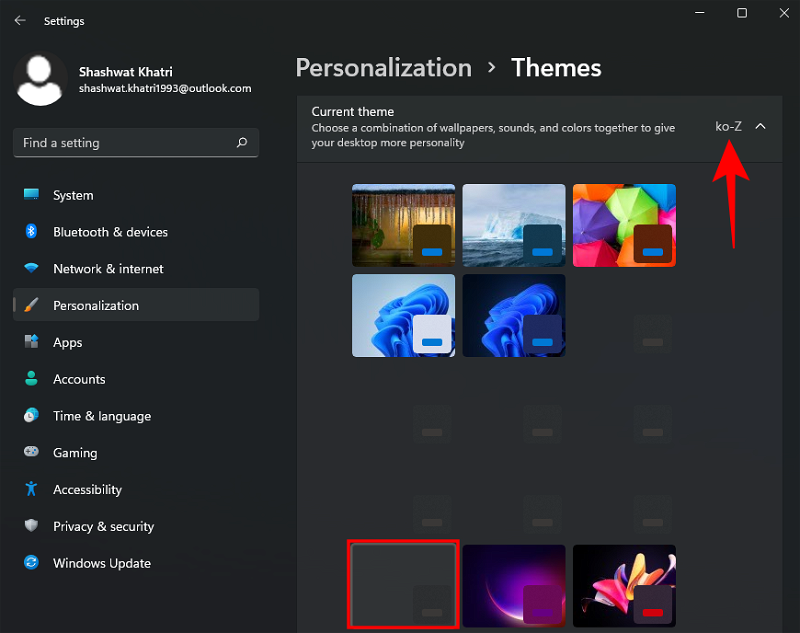
Once the files are pasted, press Win + I to open Settings and click on Personalization in the left pane.
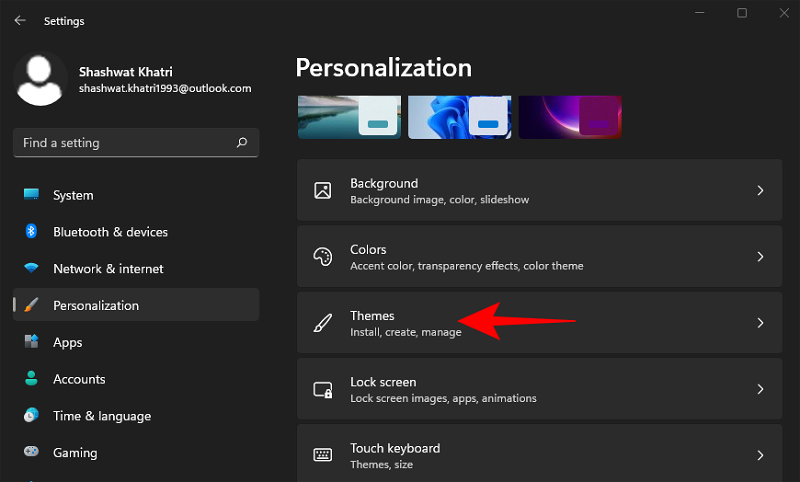
On the right, scroll down and click on Themes.
Here, you will see a bunch of themes. But the ones we have copied won’t have a preview. Select the last theme without a preview (this is the main ‘Ko-Z’ theme).
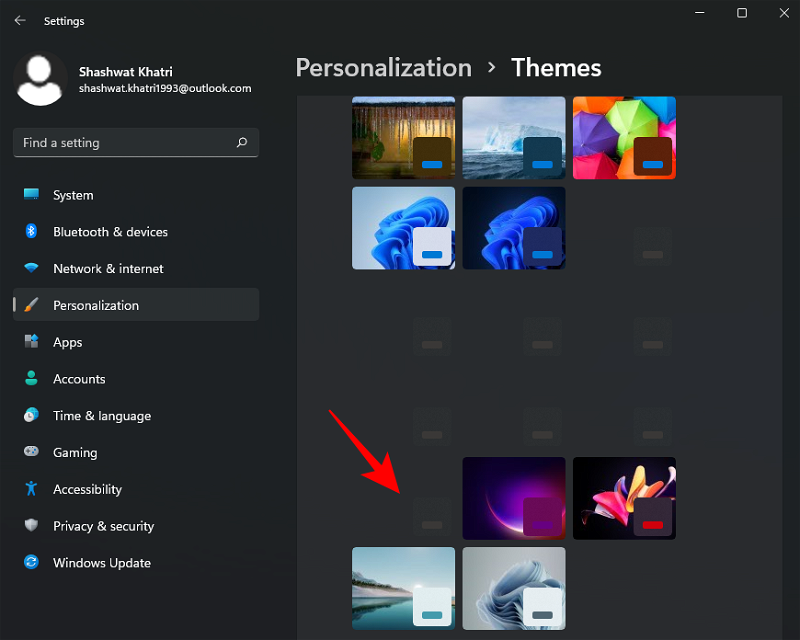
Once the theme is applied, make sure that it says ‘Ko-Z’ next to “Custome theme”.
Step 4: Unzip ‘7tsp GUI’ zip and apply Icons
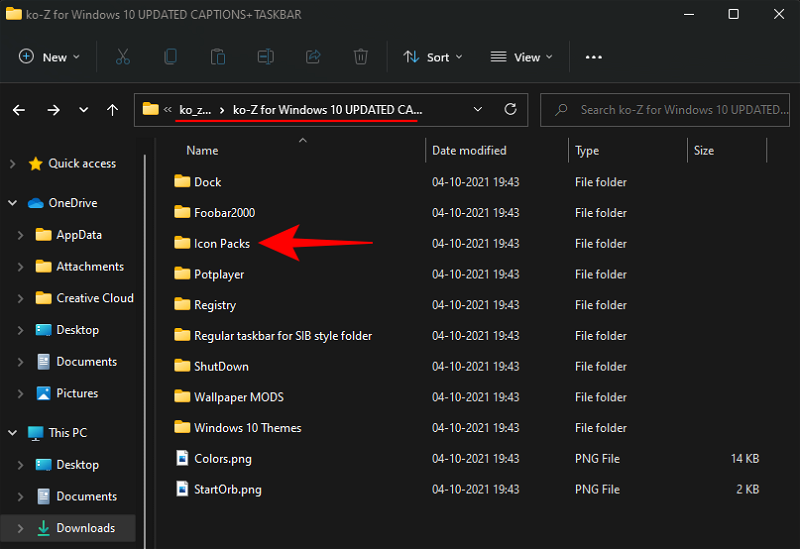
The icon pack is available in the same ‘Ko-Z’ theme folder that we extracted in the previous step. But we have to make a slight change to make sure it is recognized. So go back to the ‘Ko-Z’ folder and double-click on the ‘Icon Packs’ folder.
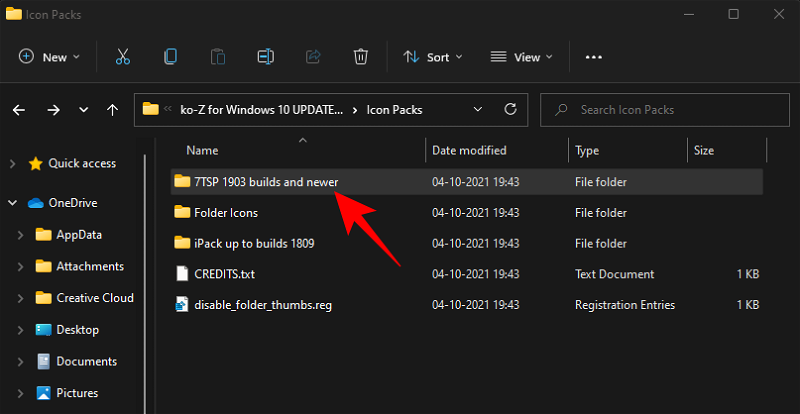
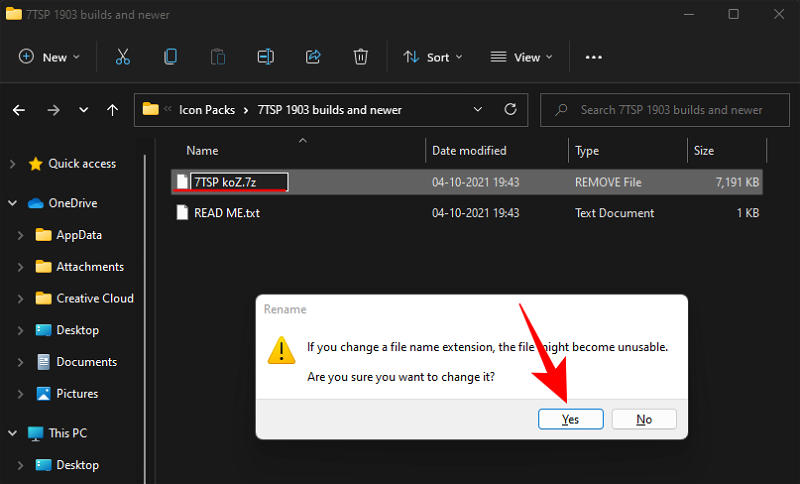
Then go into the ‘7TSP 1903 builds or newer’ folder.
Now right click on the ‘7TSP’ file and click on the rename icon.
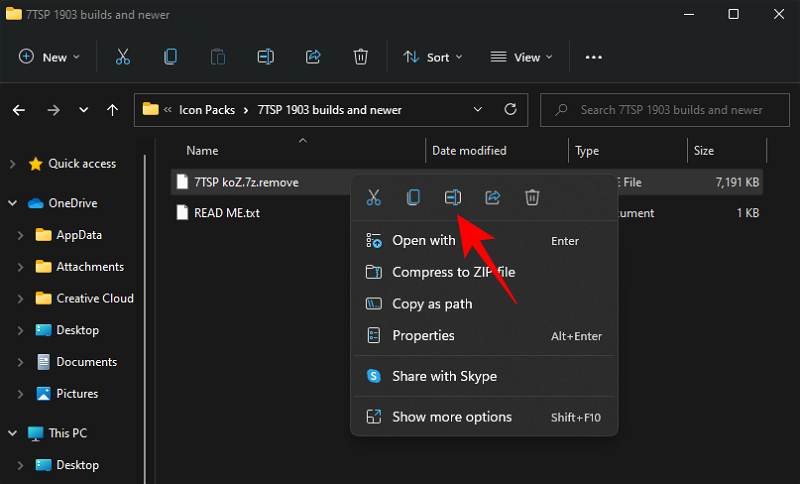
Delete the ‘.remove’ at the end of it and hit Enter. When prompted, click on Yes.
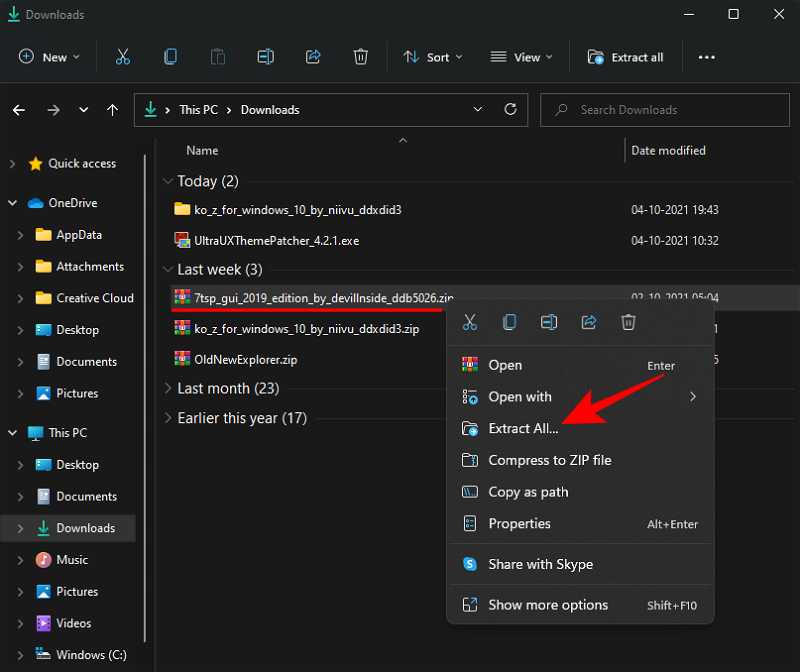
This will turn this into an archive. There’s no need to unzip this file and we will come back to it later. Instead, unzip the previously downloaded ‘7tsp gui’ zip file (use either a file archiver app or right-click on the file and select ‘Extract all’ as shown previously).
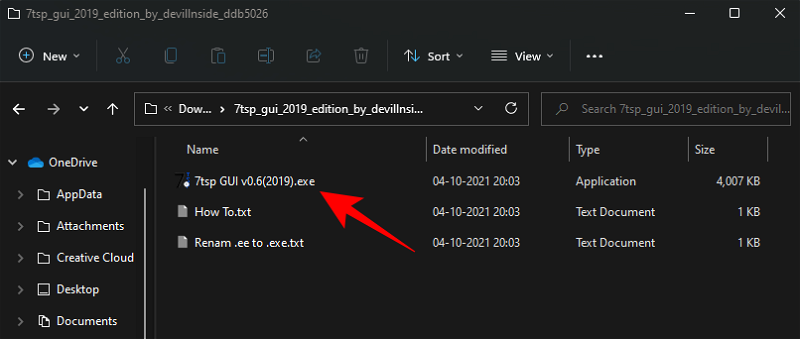
Once extracted, right-click on the ‘7tsp GUI’ file and click on rename.
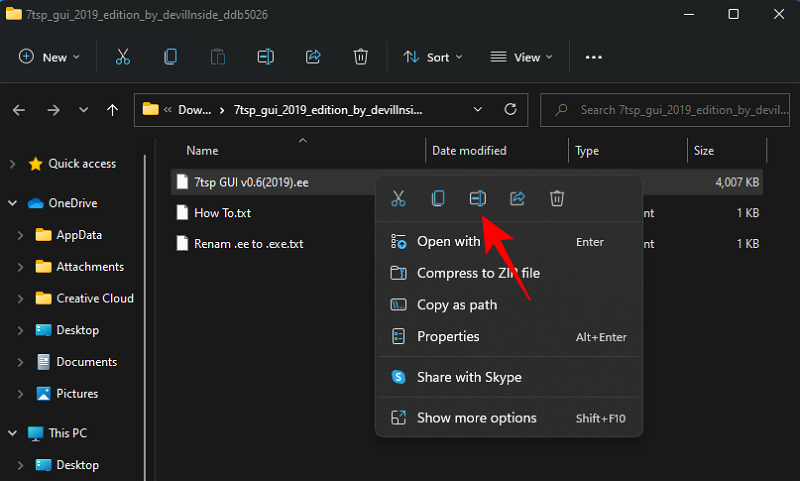
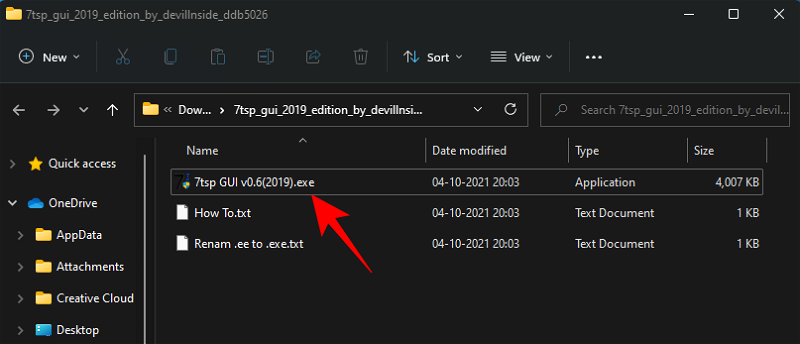
Change the ‘ee’ at the end to ‘exe’, then hit Enter. When asked to confirm, click Yes.

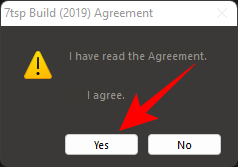
Now run this executable file.
Click on Yes.
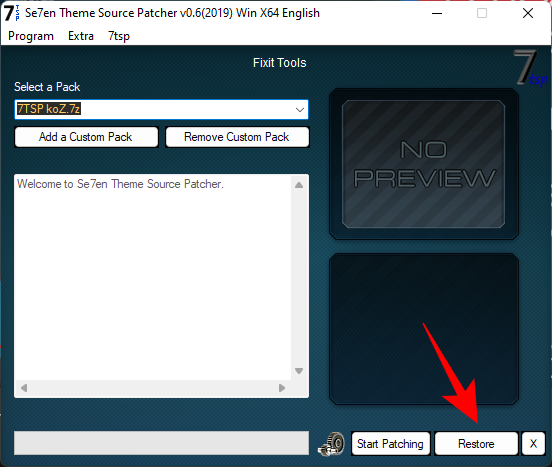
This will open the ‘Se7en Theme Source Patcher’. Click on Add a Custom Pack.
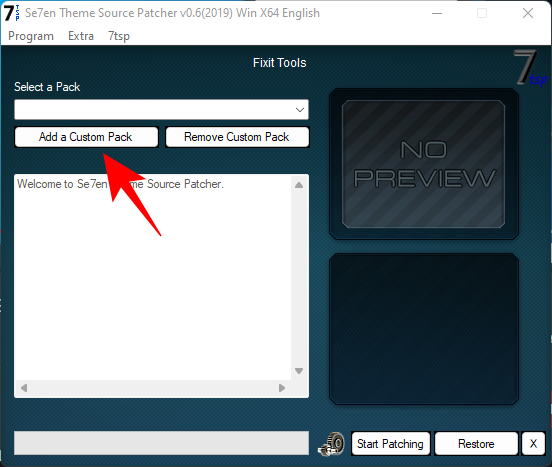
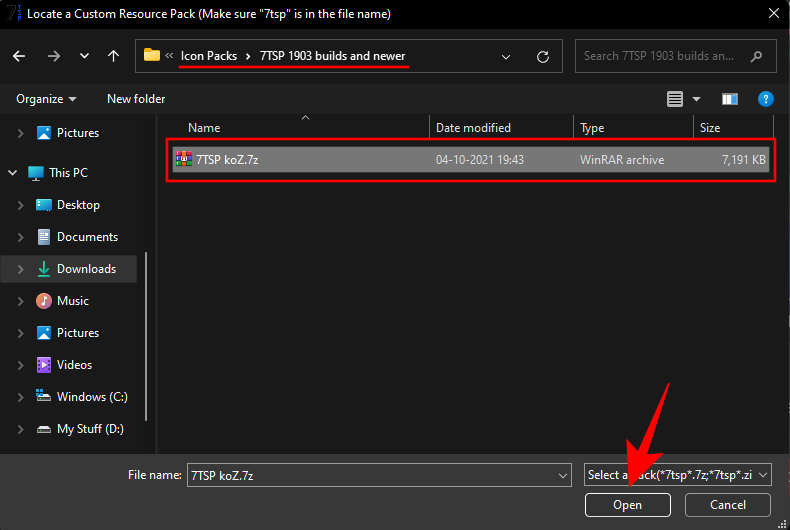
Now navigate to the ‘7tsp’ zip file that we renamed earlier in the ‘Icon Packs’ folder, select it, and click on Open.
Click on Start Patching.
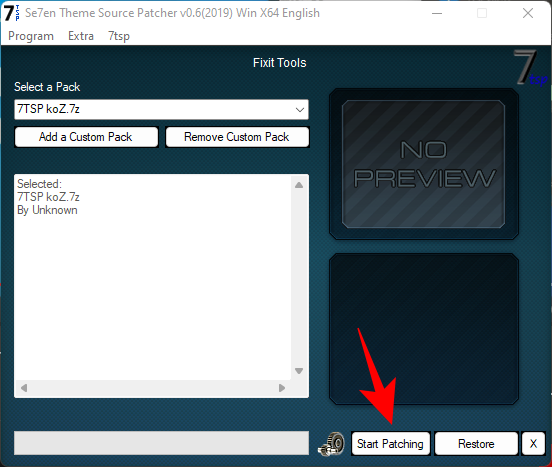
Then click Yes.
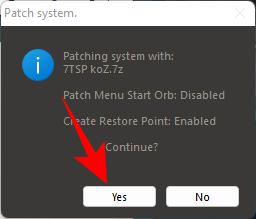
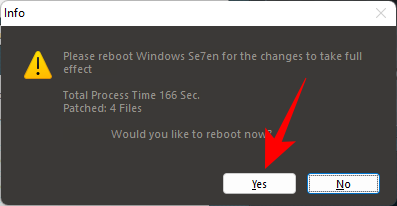
You will have to wait quite a while for the process to finish. Once complete, you’ll be asked to reboot your system. Click Yes.
Then go into the ‘7TSP 1903 builds or newer’ folder.
Now right click on the ‘7TSP’ file and click on the rename icon.
Delete the ‘.remove’ at the end of it and hit Enter. When prompted, click on Yes.
This will turn this into an archive. There’s no need to unzip this file and we will come back to it later. Instead, unzip the previously downloaded ‘7tsp gui’ zip file (use either a file archiver app or right-click on the file and select ‘Extract all’ as shown previously).
Once extracted, right-click on the ‘7tsp GUI’ file and click on rename.
Change the ‘ee’ at the end to ‘exe’, then hit Enter. When asked to confirm, click Yes.
Now run this executable file.
Click on Yes.
This will open the ‘Se7en Theme Source Patcher’. Click on Add a Custom Pack.
Now navigate to the ‘7tsp’ zip file that we renamed earlier in the ‘Icon Packs’ folder, select it, and click on Open.
Click on Start Patching.
Then click Yes.
You will have to wait quite a while for the process to finish. Once complete, you’ll be asked to reboot your system. Click Yes.
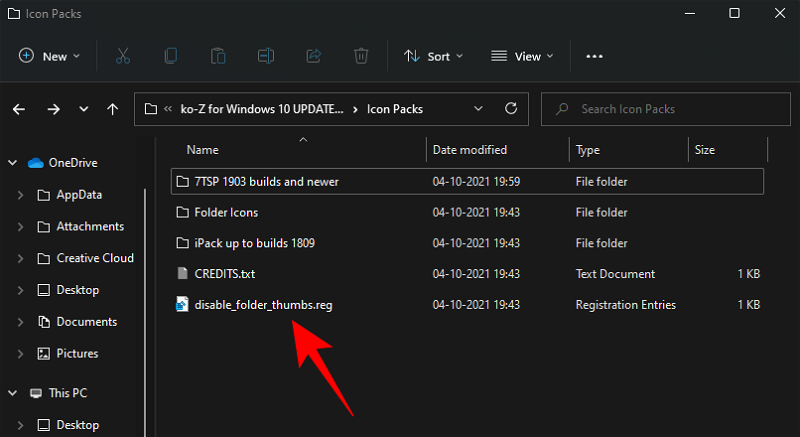
Step 5: Change Registry files to get Folder icons
After the restart, you will see the changes applied to most icons. However, the folder icons would remain the same. That’s because this particular icon pack doesn’t change the thumbnail folder view. To change this, we have to execute a registry fix.
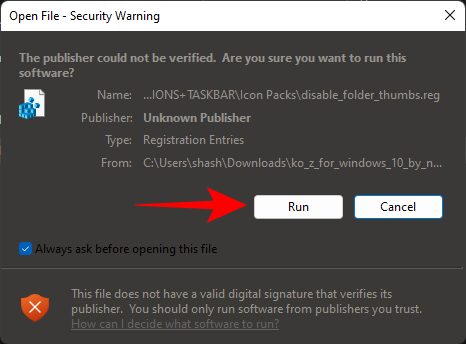
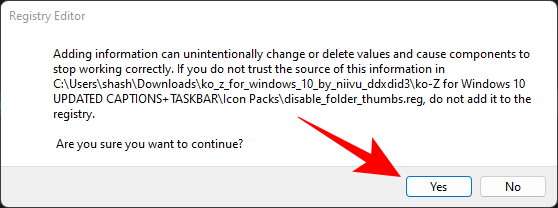
There’s already a file that can do this for you in the ‘Icon packs’ folder within the ‘Ko-Z’ folder that we unzipped earlier. Navigate to it and then double-click on disable_folder_thumbs.reg file.
Click on Run.
Click Yes.
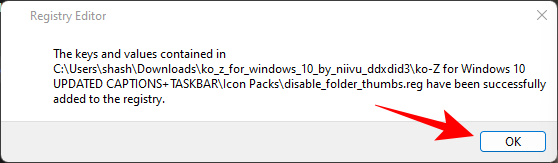
Click OK.
There’s already a file that can do this for you in the ‘Icon packs’ folder within the ‘Ko-Z’ folder that we unzipped earlier. Navigate to it and then double-click on disable_folder_thumbs.reg file.
Click on Run.
Click Yes.
Click OK.
Step 6: Refresh Icons with 7tsp GUI
Run the 7tsp GUI again.
Click on Restore.
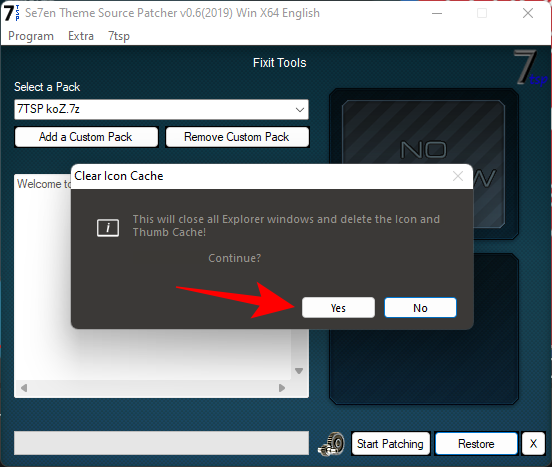
With “Restore modified system files to before 7tsp was used” selected (first option), click on Refresh Icons.
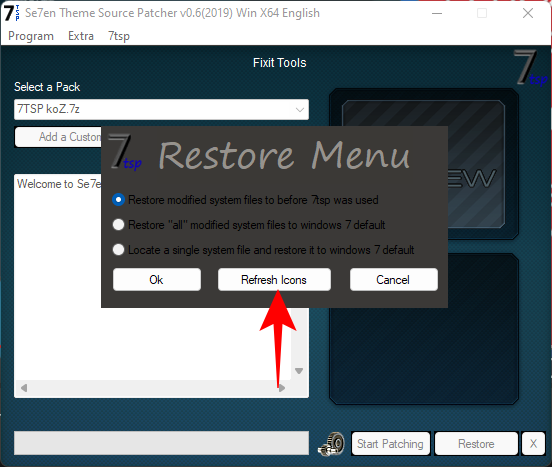
Click on Yes.
Click on Restore.
With “Restore modified system files to before 7tsp was used” selected (first option), click on Refresh Icons.
Click on Yes.
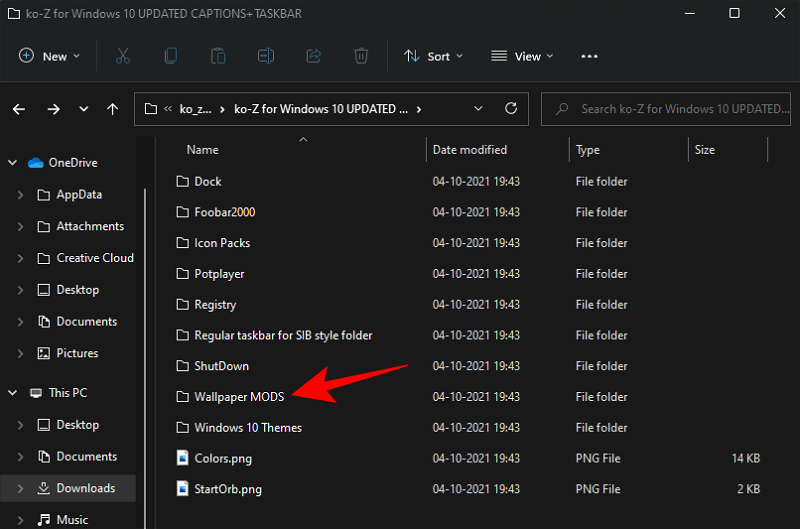
Step 7: Apply Wallpaper
The wallpapers are available in the ‘Wallpaper MODS’ folder inside the ‘Ko-Z’ folder.
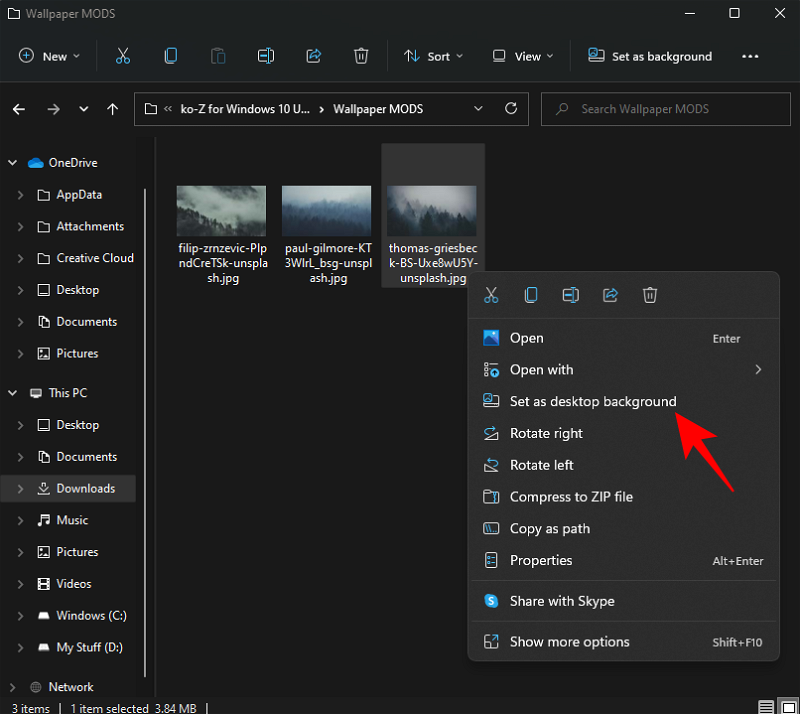
Choose a wallpaper, right-click on it and select Set as desktop background.
Choose a wallpaper, right-click on it and select Set as desktop background.
Step 8: Unzip OldNewExplorer
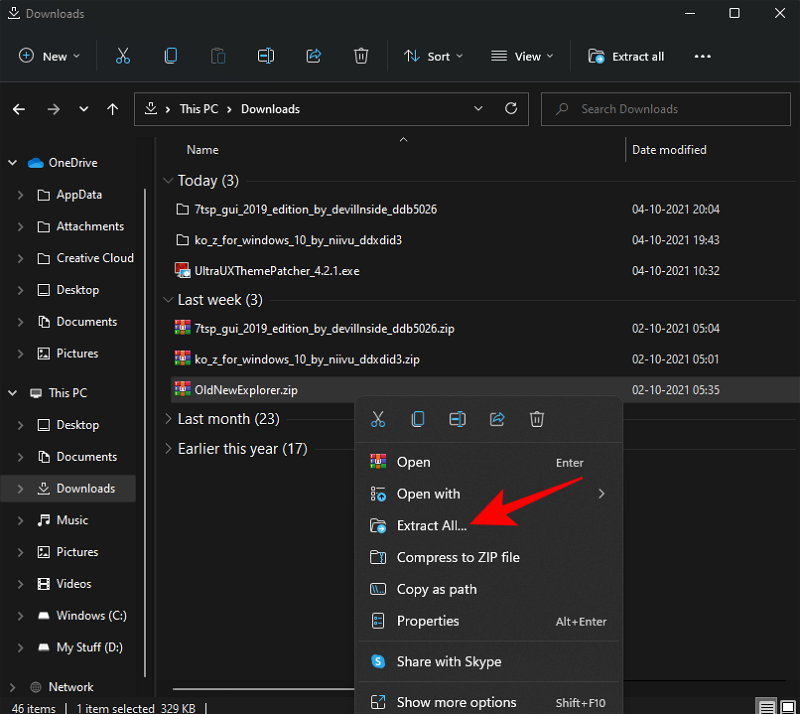
Lastly, we are left with unzipping and applying the old Explorer that we downloaded earlier. Right-click on the OldNewExplorer.zip and select Extract all.
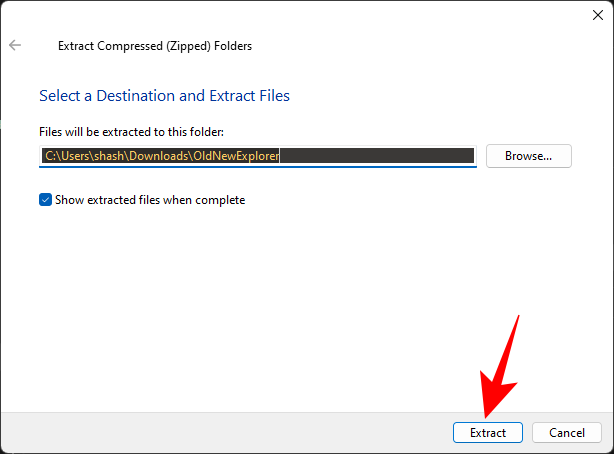
Then click Extract.
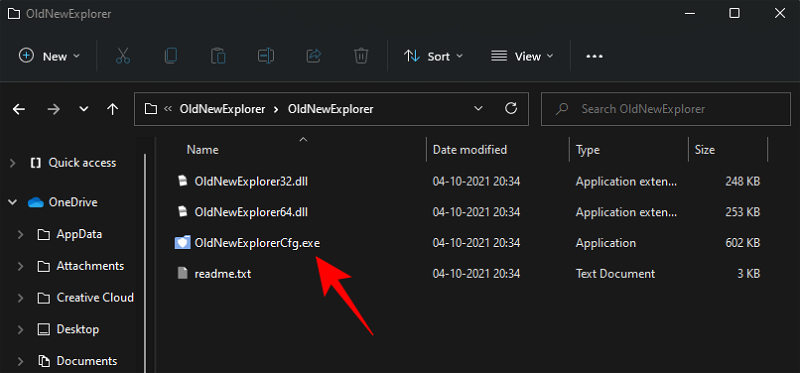
Once the files are extracted, run ‘OldNewExplorerCfg.exe’.
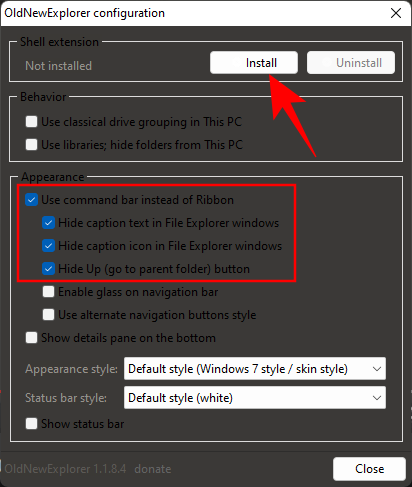
In the OldNewExplorer configuration window, select the following three options under ‘Appearance’:
Then click Extract.
Once the files are extracted, run ‘OldNewExplorerCfg.exe’.
In the OldNewExplorer configuration window, select the following three options under ‘Appearance’:
- Hide caption text in File Explorer windows.
- Hide caption icon in File Explorer windows.
- Hide Up (go to parent folder) button.
Then click on Install.
Your Ubuntu theme is now complete.
We hope you were able to get the Ubuntu theme on Windows 11 with the help of the guide above.
Your Ubuntu theme is now complete.
We hope you were able to get the Ubuntu theme on Windows 11 with the help of the guide above.
")