- Downloaded
- 118.2 GB
- Uploaded
- 42.2 TB
- Ratio
- 365.89
- Seedbonus
- 1,880,081
- Upload Count
- 0 (0)
Member for 9 years
By
It was suggested that I wrap these tutorials into a PDF to make it easier for others and it keeps the site neat.
It's a very good idea and I thought about doing that but if I did, I would be taking credit for something that
I didn't do and that's something that doesn't sit well with me.
All I do is search for tutorials of subjects I find interest in.
I share because there might be a few of you awesome members who might need a little help in the same area,
just like I did. Well. I usually need more than just a little help.
Well, here goes.
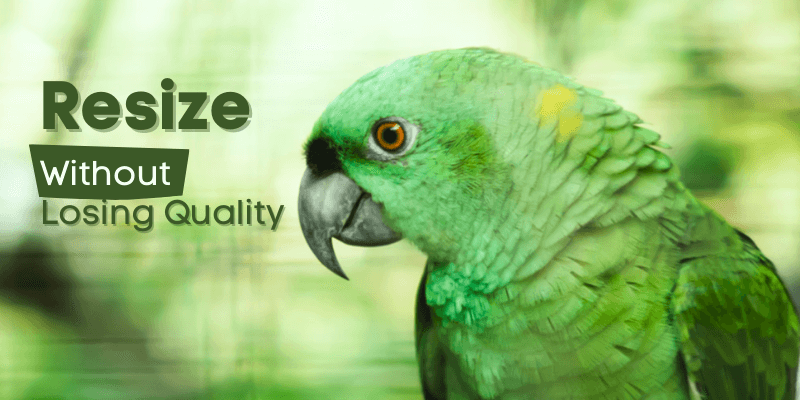
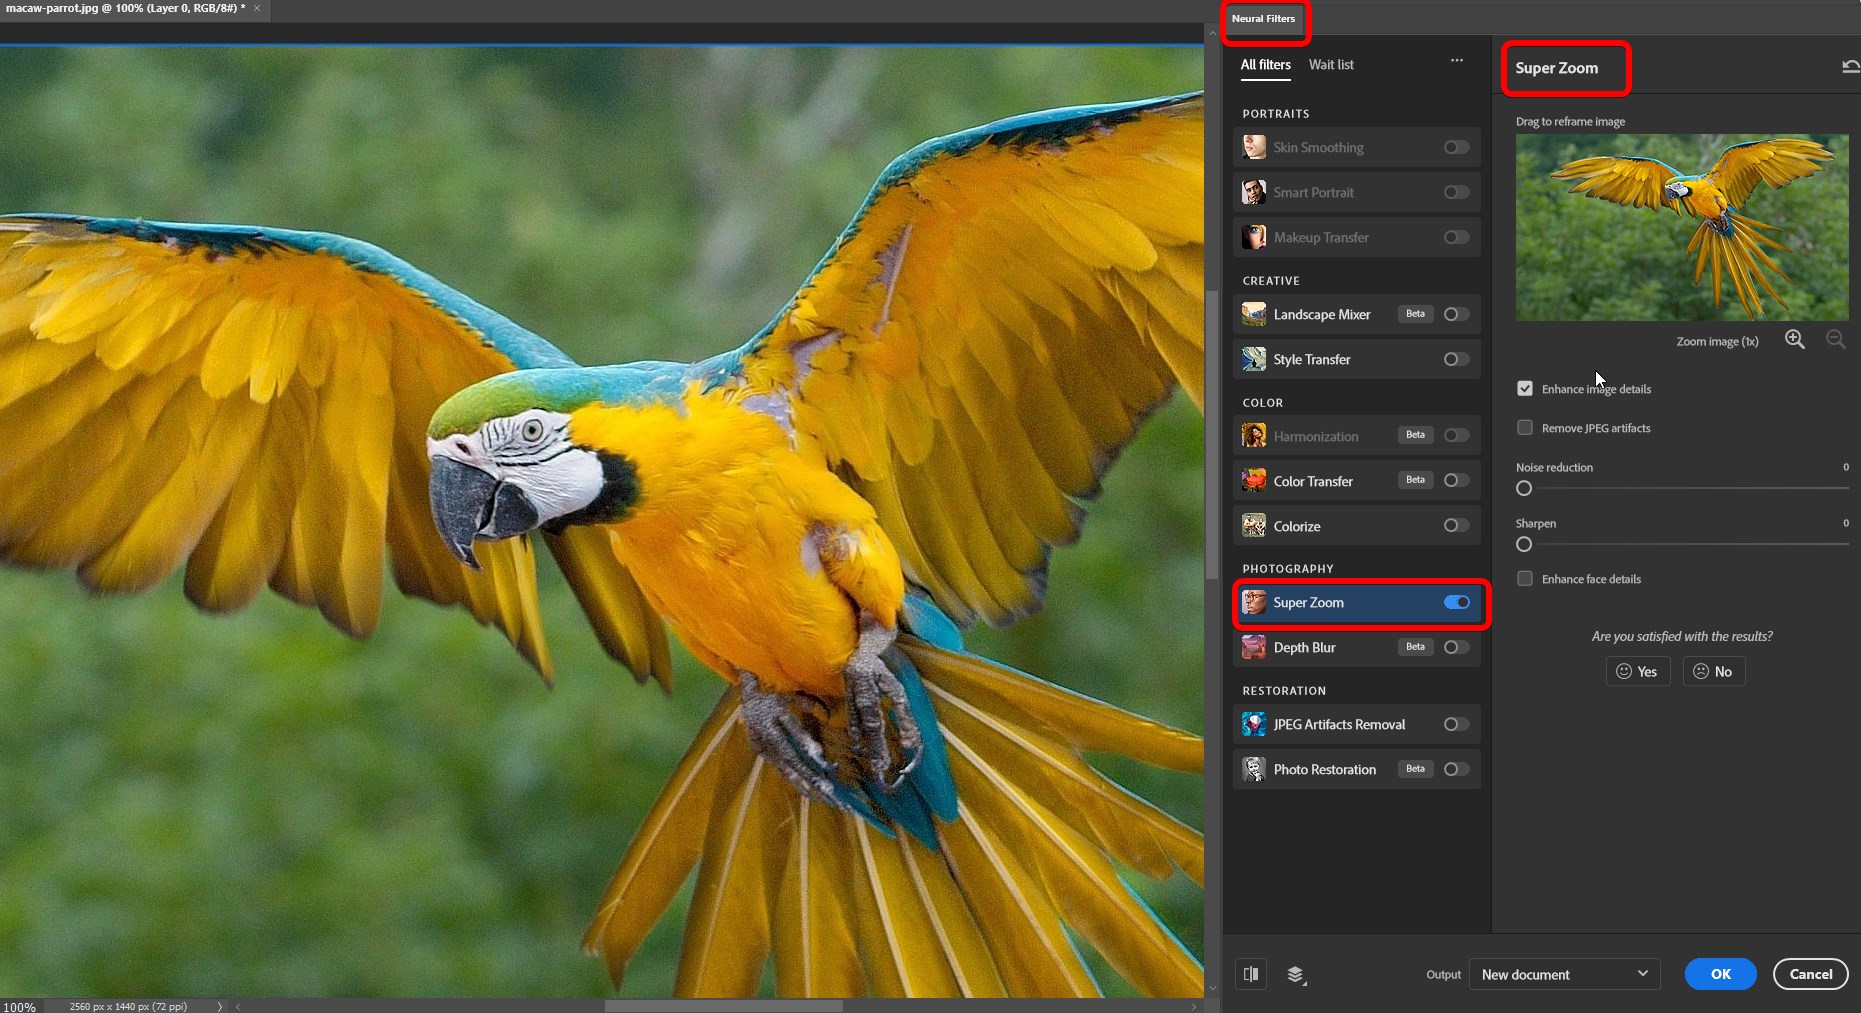
My image needs to be bigger!
Have you ever run into this issue? Perhaps you want to print an image and the original file resolution is too small. But, when you tried to resize the image it resulted in a horrific quality loss.
However, Photoshop comes to the rescue once again by offering ways to make an image larger without losing quality.
But you have to do it right or you’ll end up with a soft or even pixelated image.
Let me show you two easy methods!
Note: the screenshots below are taken from the Windows version of Adobe Photoshop, if you’re using the Mac version, the navigations may look slightly different.
You must be registered for see links
It was suggested that I wrap these tutorials into a PDF to make it easier for others and it keeps the site neat.
It's a very good idea and I thought about doing that but if I did, I would be taking credit for something that
I didn't do and that's something that doesn't sit well with me.
All I do is search for tutorials of subjects I find interest in.
I share because there might be a few of you awesome members who might need a little help in the same area,
just like I did. Well. I usually need more than just a little help.
Well, here goes.
My image needs to be bigger!
Have you ever run into this issue? Perhaps you want to print an image and the original file resolution is too small. But, when you tried to resize the image it resulted in a horrific quality loss.
However, Photoshop comes to the rescue once again by offering ways to make an image larger without losing quality.
But you have to do it right or you’ll end up with a soft or even pixelated image.
Let me show you two easy methods!
Note: the screenshots below are taken from the Windows version of Adobe Photoshop, if you’re using the Mac version, the navigations may look slightly different.
The Problem with the Transform Tool
You may already be familiar with the Transform tool. You simply hit Ctrl + T (Command + T) on the keyboard to activate it. Then you can grab the handles and resize the image however you please.
But there’s a big problem with this method. If you resize an image smaller, data is lost to compress the image. If you try to stretch it out again, your image will show a quality loss.
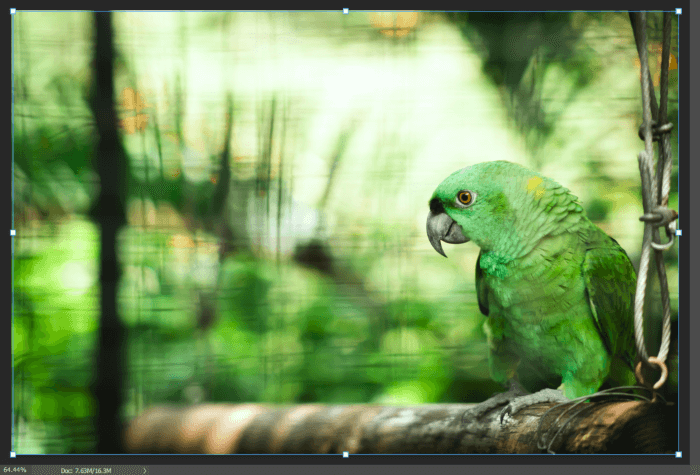
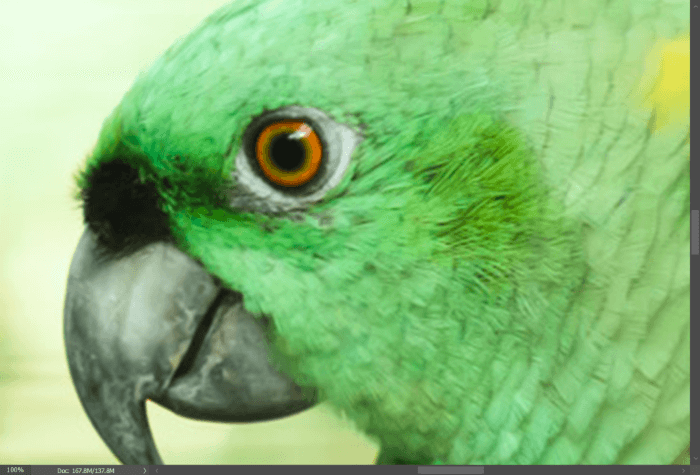
Check this out. I took my kids to an animal sanctuary last week and got this picture of a parrot. When viewed at 100%, you can see its sharpness on his eye and the feathers on his head.
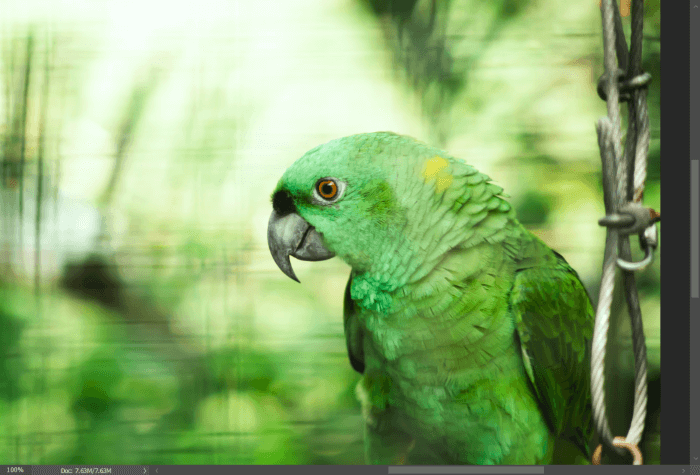
Look what happens if I make it smaller, then bigger again. The image has gone soft. Not good.
But there’s a big problem with this method. If you resize an image smaller, data is lost to compress the image. If you try to stretch it out again, your image will show a quality loss.
Check this out. I took my kids to an animal sanctuary last week and got this picture of a parrot. When viewed at 100%, you can see its sharpness on his eye and the feathers on his head.
Look what happens if I make it smaller, then bigger again. The image has gone soft. Not good.
How to Resize with the Transform Tool without Quality Loss
However, there is a way to use the Transform tool without this drastic quality loss. Simply turn your image layer into a
This acts as a container of sorts for the image. You can resize the container all you want and it won’t affect the quality of the image.
Check this out.
You must be registered for see links
. This acts as a container of sorts for the image. You can resize the container all you want and it won’t affect the quality of the image.
Check this out.
Step 1: Turn the Image Layer into a Smart Object
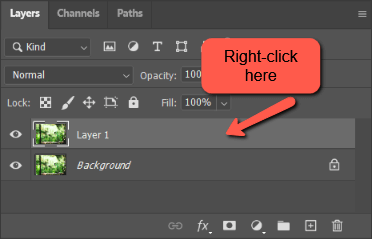
To make this work, copy the background layer by hitting Ctrl + J (Command + J). Then, right-click in the blank space on the layer you want to convert.
Select Convert to Smart Object from the menu that appears.
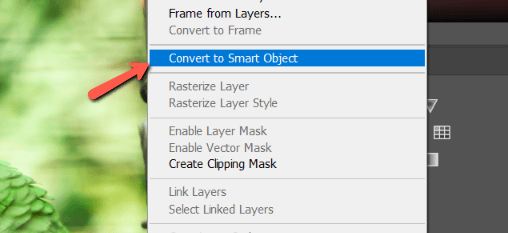
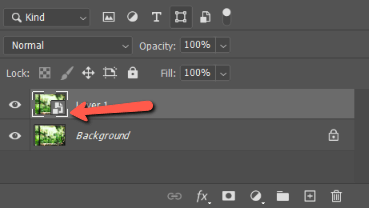
You’ll see this little box appear in the corner of the layer thumbnail.
Select Convert to Smart Object from the menu that appears.
You’ll see this little box appear in the corner of the layer thumbnail.
Step 2: Open the Transform Tool
Select your image layer with Ctrl + A (Command + A), then open the Transform tool with Ctrl + T (Command + T).
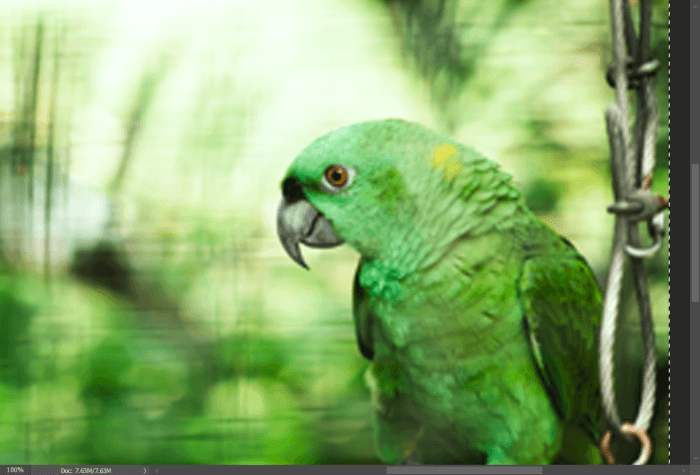
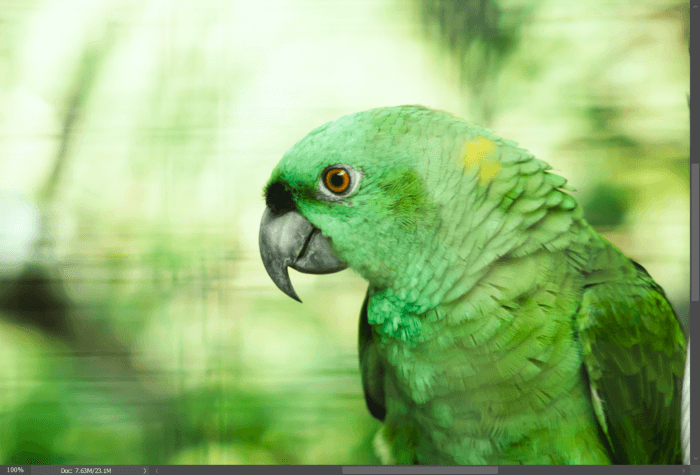
Now you can grab the handles and resize them with no noticeable quality loss. Here I did the exact same experiment with resizing my bird image smaller and then larger again.
Yet, this time, my image appears untouched.
You can even make an image larger with this method. Here I’ve enlarged the image and zoomed in 100%. As you can see, the image still looks sharp.
This method works great but still has its limitations. Here I made the image significantly larger and zoomed into 100%.
You can see that it’s starting to get soft, though it’s still impressive for how much larger I made the image.
Let’s look at another way of enlarging images while still retaining the image quality.
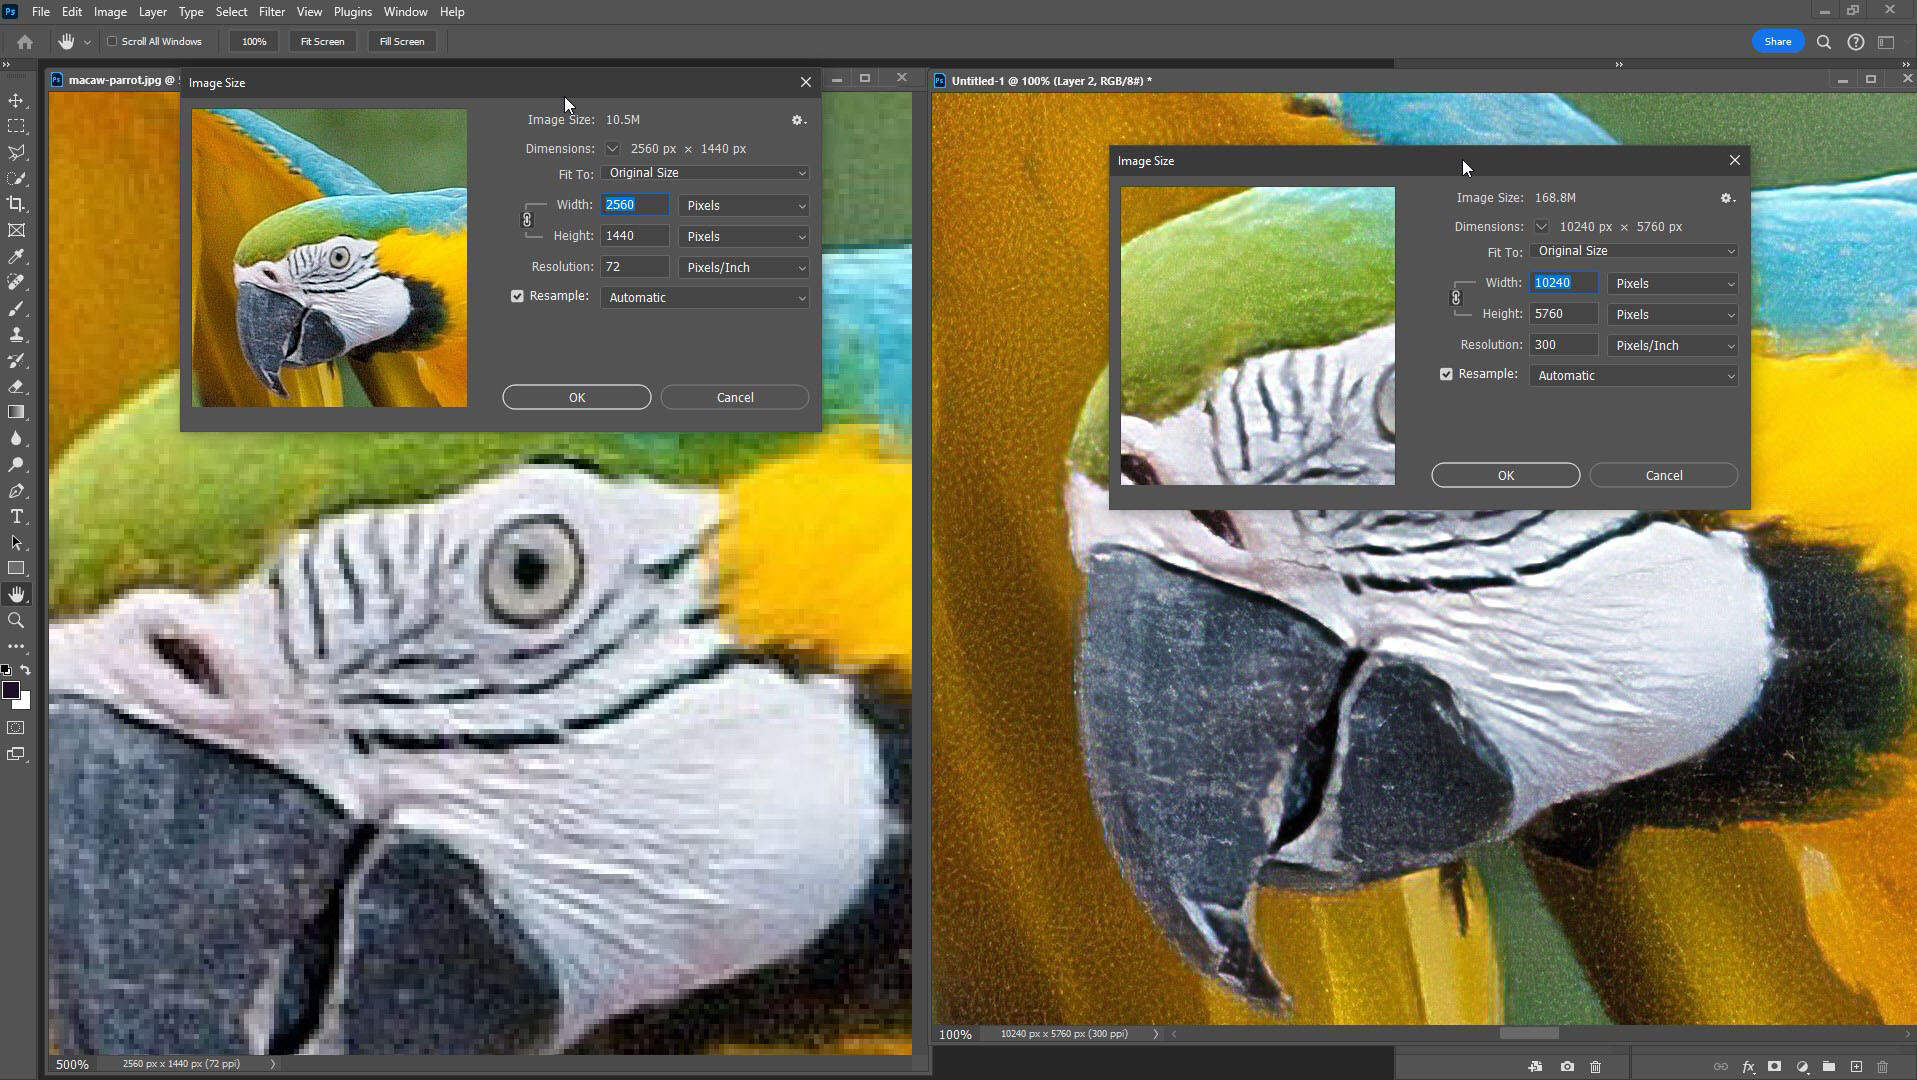
Resize with the Image Size Command
Images are made up of millions of tiny colored dots called pixels. There are so many that we can’t see the individual pixels unless we zoom in to about 1600% or more.
When you make an image larger, you spread out those pixels, which is what makes the image look soft or pixelated. Photoshop has a fancy tool called resampling that addresses this issue.
The program adds pixels to the image to maintain the resolution even though the image is getting larger. It analyzes the surrounding pixels and uses that information to choose the right color pixel to add.
Let me show you how to use it.
Step 1: Select the Image Size Command
Go to Image in the menu bar and select Image Size. You can also hit Alt + Ctrl + I (Option + Command + I) on the keyboard.
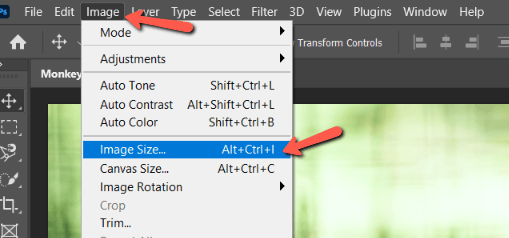
Step 1: Select the Image Size Command
Go to Image in the menu bar and select Image Size. You can also hit Alt + Ctrl + I (Option + Command + I) on the keyboard.
In the box that pops up, be sure to check the box that says Resample. This ensures that Photoshop will create more pixels to add to the image.
There are a few different options for how Photoshop will perform this feat. Most of the time Automatic or Preserve Details work great.
However, some of the others may work better with certain images so feel free to play around.
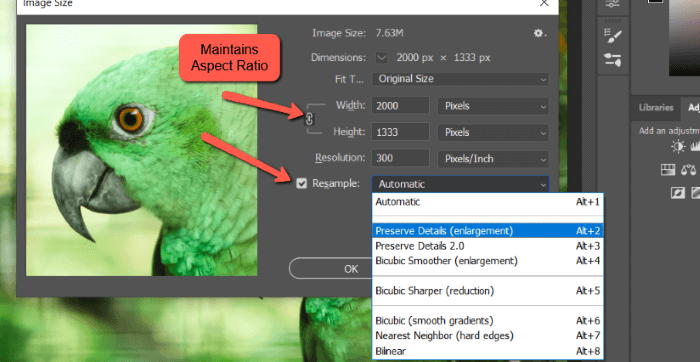
If you want the aspect ratio (height and width in relation to one another) to stay the same, make sure that the chain-link button is checked. Uncheck to freely resize horizontally or vertically.
You can also choose different measurements to use from the dropdown box that says pixels in my example. We’ll just stick with pixels for now.
Step 2: Resize the Image
Now, notice the quality of the bird in the preview panel above. Let’s bump it up to 6000 pixels wide, keeping the same aspect ratio, and see what we get.
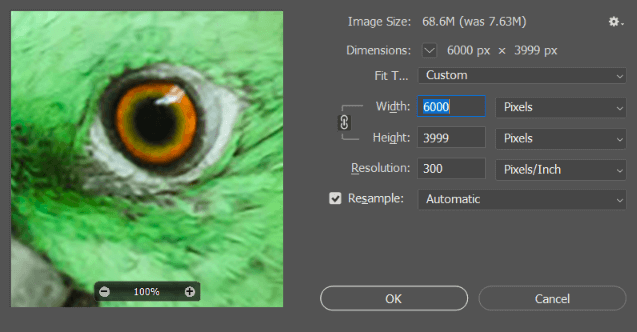
My image is still zoomed in to 100% and you can see the quality is beginning to degrade. But…we just tripled the size of the image. The results might not be perfect, but they are quite impressive.
You can also change the size by playing with the
There you have it! Now you know how to resize images without losing quality.
My image is still zoomed in to 100% and you can see the quality is beginning to degrade. But…we just tripled the size of the image. The results might not be perfect, but they are quite impressive.
You can also change the size by playing with the
You must be registered for see links
. For example, here I changed the resolution to 150. Instead of 300 pixels per inch, the program will convert the image to 150 PPI. There you have it! Now you know how to resize images without losing quality.


")
